Of course I agreed to do this, but I was quite dubious as I had never even thought about looking at vehicles before and this was definitely going to be challenging for me, but I knew that I wanted to give it my best shot.


After reading through the information my tutor Annabeth sent to me I knew what she required and as my set brief for my PPP module I just have to get it modeled,and then if I have time I have to UV Map it as well.
After a couple of issues with working out the size, I was silly and hadn't scrolled the image of the van down slightly more to reveal that I was working in millimetres. Once that was sorted I finally had my cube in, well half of as it is a symmetrical design and I only needed to make on side then, and I could begin defining the shape of it.


Once I had the basic shape I then cut some holes out where the tires would fit, and then gave them a bit of shape so that the basic look was getting to look a bit better overall.


I then filled in the space behind the tires so that they didn't go completely all the way through the mesh.

I then made tyres that were of the basic shape, as the smaller details would then be added in with the texture from Photoshop, and I also added in a space for the windows that was slightly pushed back on the sides as they would have had a slightly rim on them.

Now the final shape was complete and I was ready to mirror it over onto the other side ready with the wing mirror as well.

I mirrored it over and then extruded the front mirror inwards slightly so that there was again a small rim around the edge of it. At this stage I am very happy with how it looks and I really like the style of it, as I am trying to make it as simply realistic as I can.

I used the same method to get the UV Map that I had done previously for all of my other projects involving this, and luckily I got a pretty nice map out of it that was clear where everything was. I had a few bits to move around, but I decided that it was best to unfold it along the top edge of the car so that I got the basic shape still.
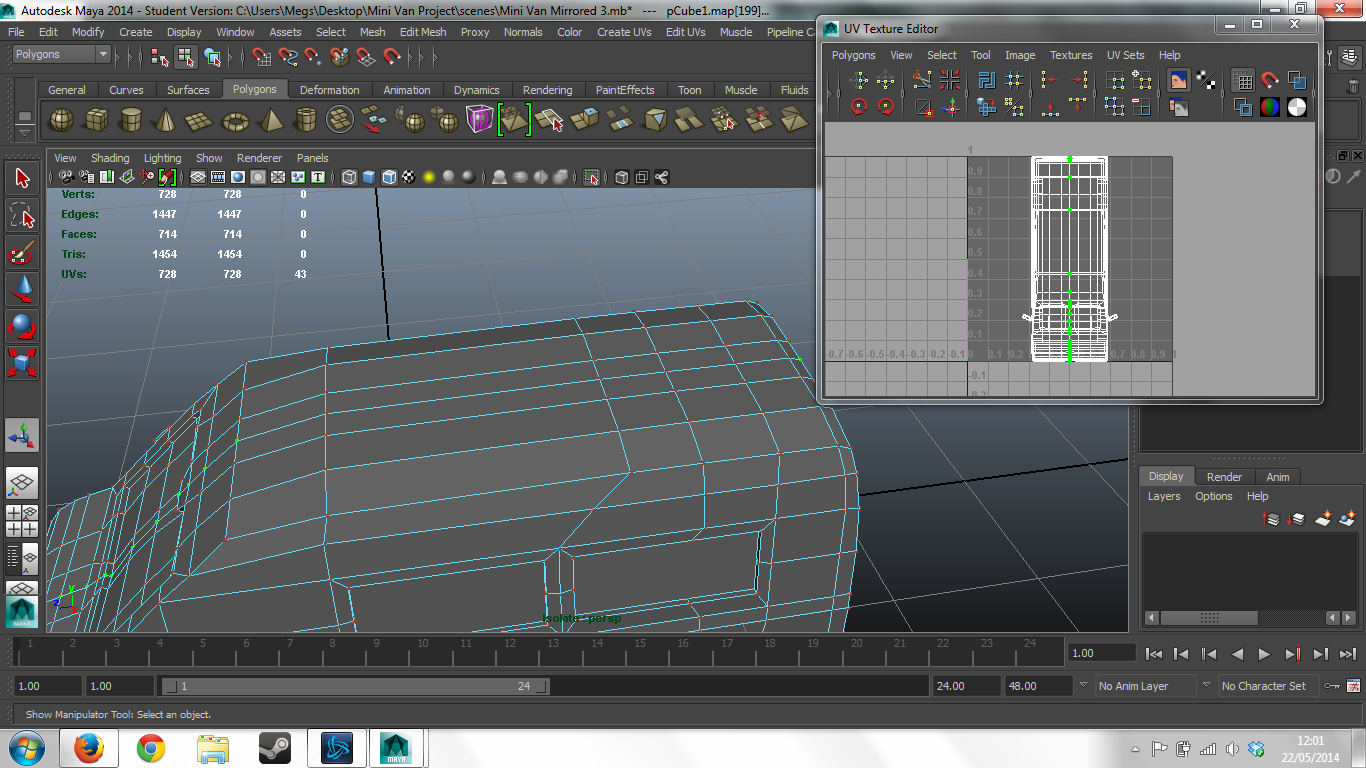

I then moved a lot of the UV apart so that there weren't any overlapping joints and also moved some around as they weren't in say a square anymore when they should have been. This just makes it easier for me to see where the textures go later. So once it was all joined up I just had the wing mirrors to unwrap as I choose to do this separately as they were sticking out of the model too much, these again were fairly easy to do.


I actually realised at this point that this wasn't the best way to UV Map this particular object, as it was essentially a cube it was a lot easier to visualise where the textures are going to be places and is just a lot easier to understand in general then my other map was. I kept the mirrors the same, even though they were a bit confusing, but either way, they are small, and I also kept the tires the same as well as these are just unfolded.

I completed the last finishing touches, making sure that nothing was over lapping in the texture editor and I finished by combining my geometry together, freezing the transformations and deleting the history. At this stage I was very happy that I got to UV Map it as well as this is an extra thing that I wanted to get done in time, which I did manage and so I was very happy. For now I will be asking my tutor for feedback and then later on I will start to texture it, in time for her game to be ready.

No comments:
Post a Comment