Showing posts with label OUDF504. Show all posts

Thursday, 23 January 2014

VFX Module: Final Video

Below is my final video, which in the end I am very happy with the final result and I think that t fits well with the brief set. I wanted to try and stick with the theme of man vs nature throughout the project and I do believe that this has been achieved. The overall look to the film, although aiming for realism did turn out quite cartoony in the end which I actually didn't mind in the end as it made it more aimed towards children in the end; something I hadn't thought about doing originally. The finished video itself, I am very proud with, and really like the look of it overall.

Due to the fact that it was a VFX module I tried to add in as many 3D elements as I could; making sure that I used green scene and then effects over the top as well. In the end I do think the smoke could have been better and also the look of the jungle but I did run out of time drastically towards the end of the post-production stage, which was disappointing. Overall I am  very happy with how this project went and I believe that I have produced an excellent piece of work, that meets my set brief, which was completed to the best of my ability.


To finish up I wanted to see how my time management had been during this project, as I knew that once I had got to the post production stage it had drastically decreased and I had started looking at other projects for a while as I didn't want to start the editing process.  I am not proud that my time management had dropped as the project went on, as at the beginning I tried really hard to keep on task with everything. Below it is clear from comparing the two schedules that I didn't keep on top of things and crammed everything into the last section of the project but it is something that I will continue to work on in the future.


VFX Post Production: VFX Breakdown

The scene that I choose to look at or my visual effects breakdown was the one where the man is about to be stepped on by the T-Rex as this scene has a lot of elements to it as I wanted to pick a scene that had CG in it. I wanted to ensure that I had picked a good scene so that I could show that I was able to add in a number of different and correct elements into place while still enabling them to look good. For this scene to look how it did a number of different layers were added onto it to ensure that I created the right effect.

The steps to create this scene were:
1. The footage is added into place
2. The green screen is taken away
3. It is replaced by the virtual background created in Maya
4. The shadow of the T-Rex is added in
5. The T-Rex foot is added
6. Motion blur is added onto the foot as it comes down
7. Background particles are added in

VFX Post Production: Creating the Effects

Once I had finished putting all of my video together and I had added the initial sound and dialog in, I moved onto actually adding in my VFX effect which included smoke, background particles and ground shakes. This became quite an easy process as I had already done the testing for it, which made it very easy to add the effects in, especially the camera shakes and the floating particles.

I firstly wanted to create the ground shakes as these were going to be the easiest part to complete and I already had the audio in place, so I just had to sync it up so t rumbled at the same time.  Like the sound, starting off quietly, I wanted the shakes to be very soft and first and then grow; but not too much that you can't tell whats happening. To do this I watched a tutorial on how to create a camera shake from YouTube. It was actually a video about how to fly like the man of steel but had a good part in the middle that explained how to create the camera shake, which I found very helpful. These shakes didn't take that long to create so I got this part done fairly quickly to a high standard. Once I was happy with how this section of the video was looking I went back to the middle to add the background particles onto the forest.

http://www.youtube.com/watch?v=z1V3Ssi4XOo

This was a very easy task but each time I added a new shake I did have to pre-compose it in between adding the new one as then I could change the frequency of the next one without all the previous ones changing as well. At this stage I also had to add a black slug behind each layer due to the back plate moving too far out of shot and the mirror edges not working properly. This didn't cause too much of a problem as the black blends into the rest of the background edge. 


I wanted to add small particles into the background as it looked very flat and lifeless. So therefore by adding these in I hoped to bring a bit more realism to the scene. As the test for it went really well this process did not take very long as I already knew what settings I would want on the video.


I used the same process that I looked at in my test video for this but at the end of this one I also added a glow effect onto the particles to make them seem that little bit more realistic. I am quite happy with how they look and what they bring to the environment; they make it feel that there is life in the jungle. My only criticism of how it looks is when there is an object in front of it what makes them look a little fake, but this is only a minor set back. 


Very quickly before adding in the smoke I also added a small effect of time shifting onto the film for when the time machine appears. This was done very simply by adding in a bulge from the effects toolbar. It was very quick to get this right and the effect looks really good. I wanted to go with this idea so that the time machine didn't just appear and actually shifted into the world instead of just popping.


The last effect that I decided to add in was rolling smoke along the floor that comes out from the time machine. This was definitely the most difficult part to the add due to how I wanted the smoke to roll across the floor. I had looked at a number of different things on the internet for how I could add in this effect but none of them were particularly helpful and didn't offer the result that I wanted. I had originally, in my testing, looked at how I could make the smoke on After Effects but this did not produce the realistic 3D look that I wanted. I also thought about doing it in Maya, but found out that this was a step that I needed to have done earlier for it to have worked. I also had another option which was to create the smoke in Unity, this didn't seem like an extremely difficult task as I had previously looked at ground fog before and had applied it to my own game level last year. I was pretty confident that this was going to give me the closest look to the effect that I wanted to achieve the most; even if it didn't look perfect but getting the camera angle to line up correctly wouldn't have been easy.

So, really my only option left was to use images of smoke and get the to gradually move across the floor while growing and shrinking and then also rotating at the same time to give it a bit of life. I think this is probably the best idea out of all of them with such a small amount of time left to complete the project even if it did not produce the exact look that I wanted in the end.

When I actually got going it was not too difficult as all I had to do was duplicate the smoke cloud I had and add the variation onto it so that they were produced at different time and  rolled across the ground for different lengths. I also made sure that if there were any trees that would sit in front of the smoke I masked, so that they would be on top of the smoke.


I then came across another problem, which was that my man suddenly appears out of nowhere. This was due to a scene being cut out from the original designs as it didn't flow properly with the scene. This was a pretty annoying issue as there wasn't any good way of solving it, so I tried to make a few more areas of smoke so that it was a lot thicker and you couldn't see the man getting out until he was there. This then sticks with my original plan of having him walk through tick smoke and then start to laugh. 


In the end, I am relatively happy with it. I know that it could be a lot better but as previously stated with time restrictions it will have to do in the end. I do think the film looks better with it, but again I wish I had had more time to play around with the smoke effects as this would have vastly improved my film in the end. 

VFX: Post Production: Editing the Footage and Adding Sound

Editing
I then went onto editing my footage that I had put together for my module and I did this in Adobe Premiere. During this process I completely ignored the sound to begin with as it was just the sound from the camera which would be taken off in the end anyway and replaced by the sound from the recorder as it didn't have as much background noise on it anyway.

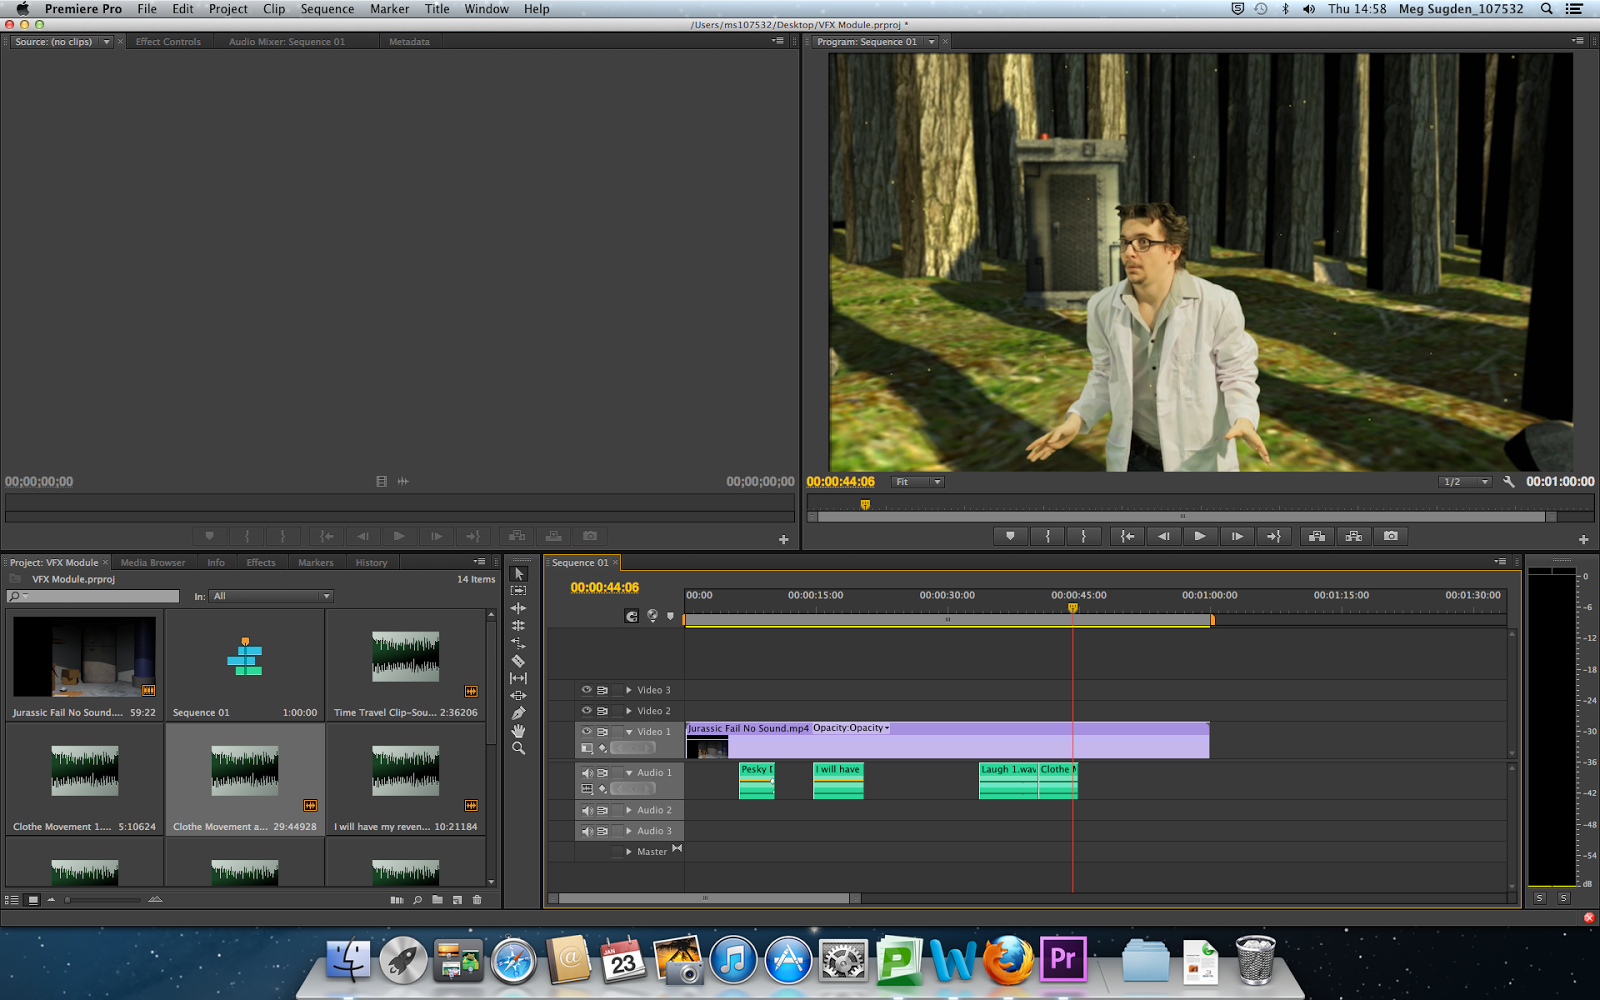
The best way I found to do this was first by watching my footage again and then going through it piece by piece and fitting the footage into the right place on the timeline. This then could show me how far over a minute I was, which was quite a lot. I was a little disappointed during this that I couldn't use my original storyboard as I just ran out of time so quickly and didn't account for the amount of work that I actually had to do in the end. So my changed ending was a bit upsetting but in the end when I had finished editing just the footage without the Maya animation in there I realised I had very little time left to work with anyway, so in this sense I was rather relieved.


Then I exported my footage into After Effects so that I could get rid of the green screen background. To be able to do this I used my guide that I created when we previously learned how to rotoscope and this proved very helpful as I was easily able to go through my footage and edit it with ease. I started by importing in my footage and then using the pen tool I cut around my character. This proved quick annoying as I did have to go frame by frame to ensure that he didn't move out of the masked area at any point. It was a lengthy process but by the time I was done I was happy with how it looked.


What I did next was at the effect Keylight 1.2 which is the same effect that I used previously to get rid of the green background. This was fairly simple but there was a problem with one scene where the lighting was a little too dark and it had a slight shadow across it, but this could be solved later on.


I then changed a number of settings on the left hand side so that the edges were moved blurred, making it sit better in the scene and then also make the black and white tolerance slightly different so that there was less negative space in the background. I still had a few problems that needed to be altered and this did take some time to figure out how they we going to be solved.

The next day when I opened my footage I found that I now didn't have this problem, which was good. I'm not sure how it was fixed but due to the fact I do not have the problem anymore I am not too worried about it. The effect of the green screen can be best seen against a blue background which is demonstrated below.


I then looked at putting all of the different elements together. This meant bringing in the still image backgrounds from Maya, along with the rendered out scenes as well, and then also making sure that my titles and credits were sorted as well. This was a fairly easy process and didn't take as long as I thought it would. In some of the scenes, especially where there is a green screen element some minor effects did have to be added. In most of the scenes where the man is the center focus, the background is slightly blurred so that it looks like it was filmed and then also colour corrections had to be done as well as the characters clothing was too pinky red; these were only minor things though.


The last thing that I added into my final video was the T-Rex foot stomping down at the end of the video. I had finished creating it in Mudbox and had taken it into Maya so that I could delete the rest of the body but still have the foot remaining. This was an easy process that didn't take very long; it was getting it into After Effects that was a little more difficult I had to ensure that once it was in it looked like it was actually standing down on the man. It didn't take me to long to figure out and it looked really good in the end. I finished off by making some final colour adjustments to ensure that everything sat correctly and added a few more Gaussian blurs to create a fake camera focus on the screen, making certain aspects the centre of attention. I then also added two shadows, both to this part, one for the man and one for the T-Rex stamping down, which really added the right effect and made it look more realistic. At this point I also added a motion blur onto the foot as it was coming down so that it gave it movement and added a colour correction on the foot as well. I am really happy at the moment with the look of it and can't wait to see how adding my other VFX will improve it further.


Sound
Once I had finished editing my video I had to add my audio back in so that it was clearer, crisper and not going off the scale in terms of how loud it was. This process wasn't to difficult as in some areas where the character is just making a few noises I left as just being audio from the camera as it worked well and in the areas I did have to add the dialog in, I had very little to sort out anyway.

After this process, as this did not take very long at all, I added in my sound effects which again was a relatively easy process, once I had got the sound files together. With the sound effects I wanted to make sure that they sounded realistic and fitted well within the environment and also fitted with the theme of my video. For the scene in the lab I went with metallic noises as the time machine disappears to go with the special effects that were added. Then in the jungle I wanted to add more natural noises like bird calls and rustling leaves, along with the loud thumping of the T-Rex getting closer.


I really liked all of the sound effects the I decided to add as they all bring there own uniqueness to the film; the best one being the T-Rex getting closer and as they get louder you know it is about to appear. Along with this the noise of the time machine is also nice as it takes off and lands as it is unique but there is a clear Doctor Who reference, which is what I looked at in my research. Altogether now that the sound has been added I feel that the film is starting to come together more. I will now move onto looking at the special effects that need to be added in which a few more sounds might be needed after to make it sound more realistic.

Tuesday, 21 January 2014

VFX Testing: Background Particles and Camera Shake

After I had changed my idea, I thought about new ways in which I could add elements into my project, one being camera shakes for when the T-Rex is stomping on the ground and the second being particles floating around in the background in my film so that the jungle looked more alive. For this to work I first wanted to do some tests to ensure that I could add them in smoothly into my film.

The first test that I did was the camera shake. For this I followed a YouTube tutorial that I found that was how to fly like the man of steel. Although a video about flying there was a section at the end that looked at how to create a camera shake which looked very simple to add into a film. To do this test I took a piece of raw footage from my film, one that hadn't been edited at all and applied the technique to it.


I was very happy with the results although the shake lasted a bit too long, and I am confident that I can use this in my final film to get the right technique of the T-Rex getting closer.


I then moved onto looking at the background particles as this was a little bit more difficult, but again I found a video on YouTube that I could follow to see whether it was any good or not.I started the test of by creating a random coloured solid for the background in my new composition. I then a colour ramp onto it which would be the background colour and made it a radial ramp so that the colour started in the middle.


Now it was time to add the particles so I took another solid and this time made it a light blue which would be the colour of the particles and added the CC Particle World effect onto it. At first the particles looked more like a volcano so a lot had to be changed in order for it to look good.


To create the look of floating particles which I want a lot of things had to be changed about the particles like getting rid of the velocity and gravity in the composition and then changing the animation to explosive and also changing the particle type to a lens convex so that it changed to balls within the area.


Now that the particles where starting to look more like how I wanted then I played around with a few more settings so that they were much smaller by changing the birth and death rate. I made a few more adjustments to the settings and then made the life of them longer so that they didn't blink in and out too much.


Overall I am very happy with the result of it. The particles move upwards ever so slightly which adds another sense of realism and also I can definitely see them in my final film in the jungle scene.

Thursday, 16 January 2014

VFX: Post Production: Modelling and Texturing the Jungle

I found the jungle very hard to wrap my head around how I was actually going to model it in the first place but eventually came up with a good way of getting around it. For starters I took out most of the bushes and plants which were going to be sat around the edge of the clearing which the time machine would land in, as this would just produce unnecessary work for me. I then also just used tall tree trunks so that I would just have to add the tree trunk textures, making it a lot easier to texture as well.

The jungle was actually pretty easy to model and texture. I used a plane and moved different faces of it up and down so that there were a bit wonky and I used 3 different variations of trees and then duplicated them around after adding a texture. I then gave them even more variation by altering the angle of a few of them and then rotating others to ensure that the textures weren't repeated. I was very happy with how they looked, and how my time machine looked when sitting there as well. I just had the problem of the distance and how I could make it look like the jungle goes on for ages.


I really liked how it was looking but next I had to add in the background to ensure that you could see into the distance. I found a really nice background that worked really well and looked good as a background in the distance, just in case you get a glimpse through the trees. I then went onto adding in a few rocks on the floor so that it looked a little more jungle/forest-like. Then added an area light so that there was sunlight coming from above.


I'm really happy with the end result as I think I've got a good amount of light coming through into the jungle, as well as a couple of scattered rocks hanging around. I think if I have more time towards the end of the project I will go back and add a foliage gobo into it so that I get some of the leaves that are at the top of the trees coming through. At the moment you can't tell too much that the tree trunks don't have tops but I think adding in the foliage will give it a nice finish.